
For this project, I wanted to practice making tapered / trapezoidal shapes and rounded / chamfered edges. As a reference photo, I chose the monument to the 2nd MD Infantry, located on the Gettysburg National Park. I chose this one because it's pretty simple and had the features I was looking for.
https://en.wikipedia.org/wiki/List_of_monuments_of_the_Gettysburg_Battlefield#/media/File:2nd_Maryland_Infantry,_CSA_monument_-_Gettysburg.jpg
It seems there are several ways to shape blue foam into tapered shapes, but here is the one I went with. I cut out cardboard templates like the one shown below and taped them with double-sided tape on both sides of the piece. These are used as "stops."
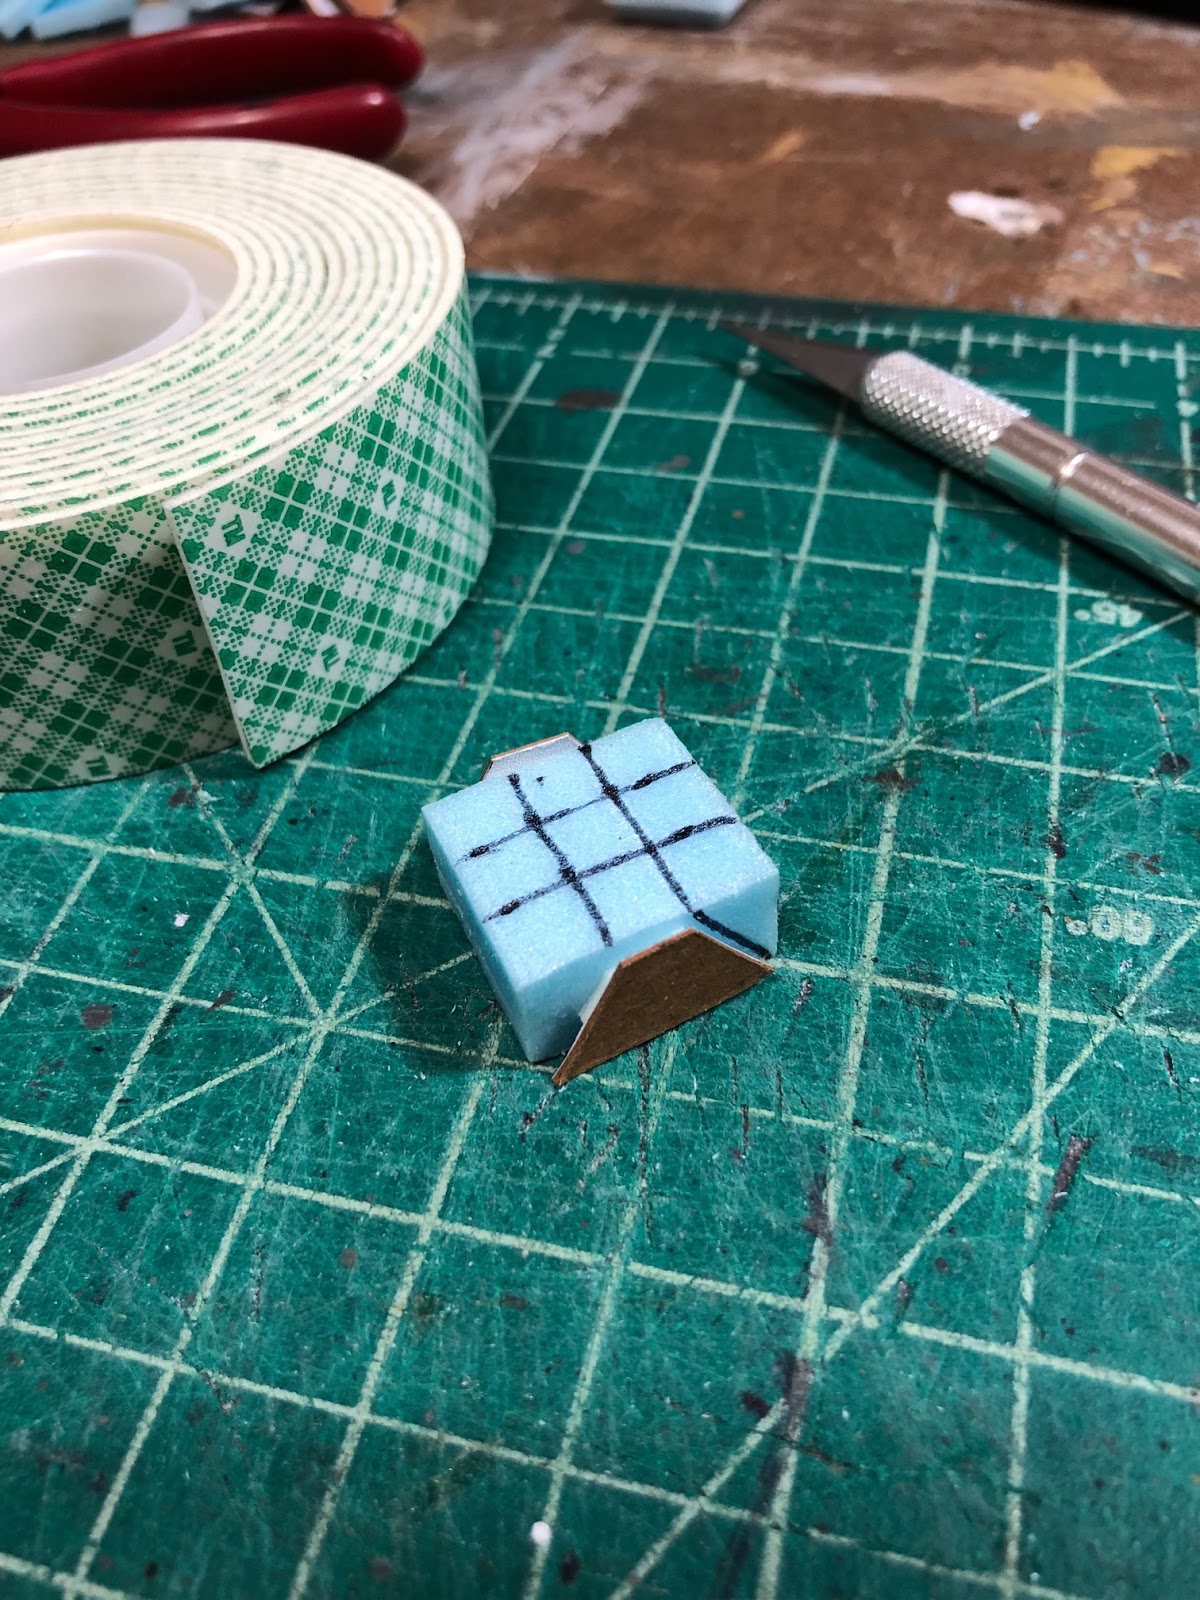
Then I used a utility knife with the blade extended out and cut most of the way to the cardboard stops.

Then I sanded on very fine grit sandpaper carefully until the foam was even with the cardboard stops.

Do do the other sides, I skipped the stops and just marked where to cut / sand.

To get the chamfered edges on the base pieces, I kept the sanding block parallel to the table as I sanded it back and forth, which keeps it even. I also masked off the top edge with a thin piece of tape.


I painted the top ornament a brown / brass color and glued the pin into the foam with PVA. The image below is near final. I debated whether to put anything on the front, and ended up adding a small skull shape as shown on the photo at the top of the post. In terms of the dimensions, it didn't come out exactly like the 2nd MD Infantry's monument, but close enough!

D.I.Y. Photo Backdrop!
Usually for these blog posts, I just take pics with my smartphone. But sometimes I use my SLR camera on the tripod, so I can adjust the settings. For this model, I made a backdrop for the photo, almost like the background to a diorama. I doesn't matter if it turns out like a hack job, because the details on the painting can be blurred with soft depth of field. Below is the painting I made for it (kind of a cold, dark, misty forest), with the monument model sitting in front of it. Clearly I went overboard with the size of the background, but that's OK because I'll likely use this again for something else. The result is the pic shown at the top of this blog post. For the pic I used, the painting was about five feet in back of the model. If I had moved the backdrop even further away from the model, I could have shown more of the painting. Or I could have used a wide-angle view -- more things for me to try for next time.


