

I used foam as the foundation and roughly cut the edges using a utility knife.

It's hard to tell from this photo below, but the next step was to glue bark onto the edges of the hill, which gives a realistic texture for the rocky outcroppings. I used bark that had fallen from large fir trees we have in the backyard, and attached them with hot glue. Not shown here are other items I attached, like actual rocks, some chunks of plaster I found, flat pieces of cork, and some dried twigs to represent fallen trees.

I wanted a nice, even, flat surface on the top of the hill where miniature figures could stand. So I carved some Palight PVC board and glued them down.


What I'm holding in the pic below are wood shavings, like you would use in a pet's cage. I sifted them so that I only had the smallest bits remaining, and then colored them a dark brown using craft paints. Because the wood is so porous, it seemed to take forever to dry, so I heated them on a cookie tray in the oven on low heat for around five minutes, which did the trick.
Another material mixed into the paste: fibers from a "coco basket liner."


Here are the craft paints. The four on the left were used for the rocks and the four on the right were for the earthy ground areas.

At this point I added greenery and static grass.

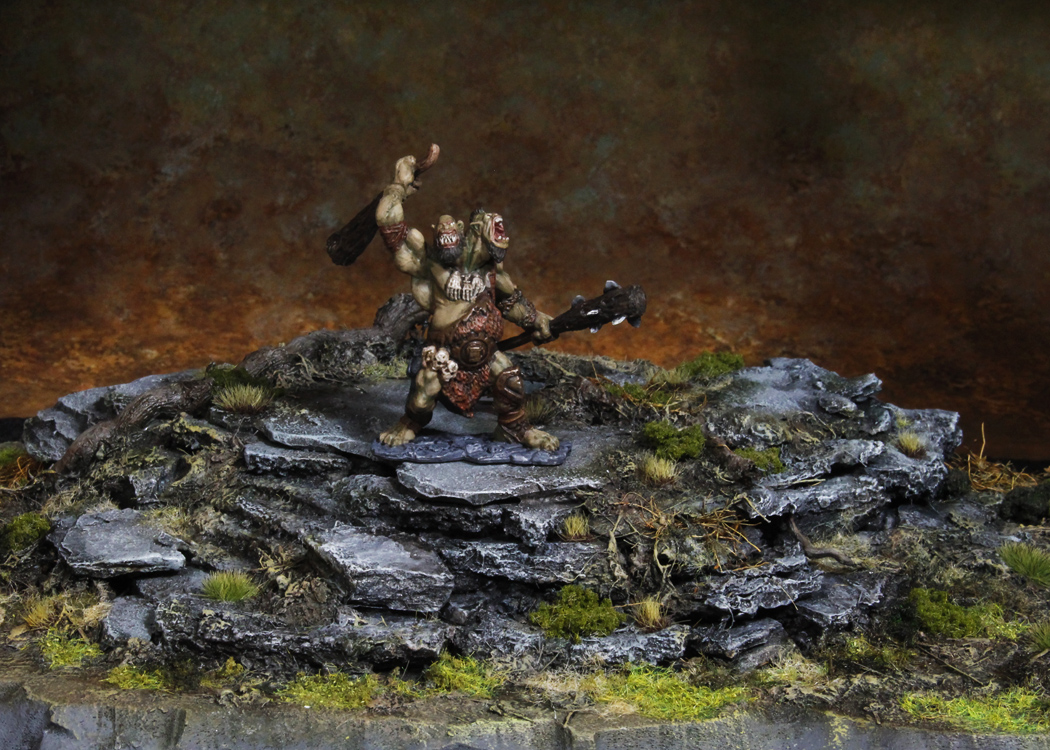
Overall I am happy with this one, and I learned some stuff about how to use bark for texture. The bark chunks I used result in the multi-layer stratified effect below. Would be fun to find thicker chunks of bark and try them at some point!
No comments:
Post a Comment